
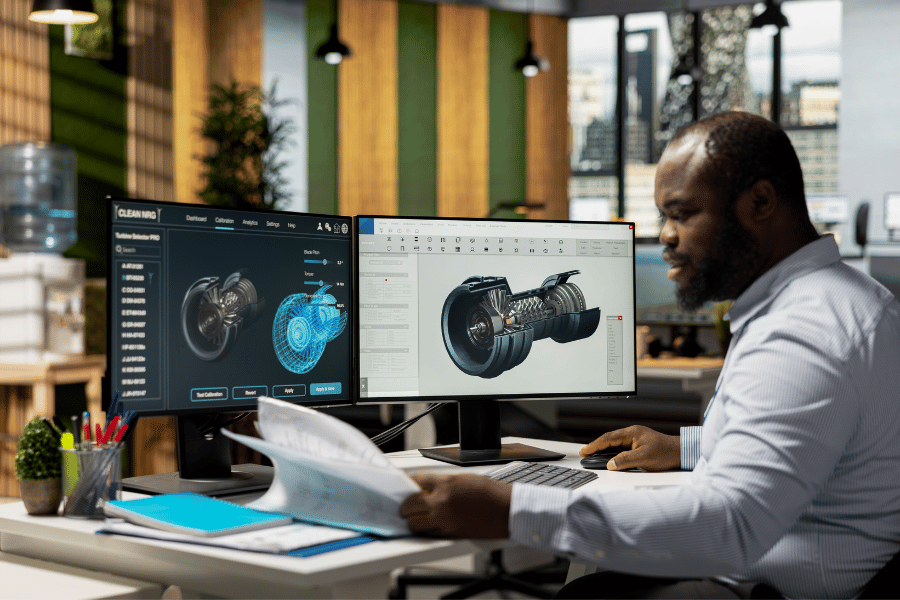
Article Summary
- CAD files carry every instruction a machine shop needs, so their quality shapes the quality of the finished part.
- A clean, complete 3D model removes guesswork, shortens quoting, and keeps a project on schedule.
- Confirm the file format, units, and tolerances your shop expects before you export anything.
- Small design decisions, like leaving room for the cutting tool, prevent surprises once the material is on the table.
- Free model libraries and open-source design software can help you check your work before sending.
- Components By Design handles prototypes and full production runs for clients in Charlotte and the surrounding region.
Good parts start at the desk, not at the machine. The CAD files you send to a shop carry every instruction the machinist needs, and small gaps in those files turn into phone calls, delays, or a part that does not fit. The fix is easier than most people expect. A little care before you hit send makes the whole CNC machining process feel effortless.
Why Your CAD Files Determine How the Part Turns Out
CAD files, short for computer-aided design files, are digital documents that contain the data used to create 3D models. In a machine shop, that model becomes the map for the cut. CNC machining is a subtractive process, which simply means a computer-controlled cutting tool removes material from a solid block, sheet, or panel until what is left matches your design. The machine has no opinion. It only knows what the file tells it.
That is the reason file preparation deserves real attention. A model with a missing feature or an unclear dimension forces someone to guess, and guessing slows down a quote. On a production run, one unclear detail can repeat across every part in the order. Send a clean model and the conversation moves quickly to the things you actually care about: material, timing, and cost.
Start With a Clean, Finished Model
Treat the file you send as the final version of the part, not a sketch of an idea. Machinists quote and cut from what you provide, so any leftover clutter becomes part of the job.
Model the part you actually want
Design the finished shape at its real size, with real features. If a hole needs to be a certain depth, model that depth. If a corner has a radius, draw the radius rather than describing it in an email. A model that is complete is also easier for you to check, because you can spin it around and picture the finished piece in your hands.
Clean up details that confuse software
Most design programs leave a trail of working parts behind. Before exporting, take a few minutes to tidy up:
- Delete stray sketches, construction lines, and duplicate bodies.
- Make sure every surface joins to its neighbors, with no open gaps.
- Remove parts you modeled for reference but do not want cut.
- Name the file something a human can read, like bracket-v3-final.
Pick a File Format Your Machinist Can Use
CAD file formats are not created equal, and a brief introduction to CAD file formats helps if you are unsure what yours keeps and what it drops. Some formats carry design history and full feature detail, while others flatten everything into a shape. If you are not sure which one to send, the simplest move is to ask the shop before you export. That one question saves a round of email and a re-export.
When in doubt, send more than one. A 3D model plus a drawing or a screenshot of the key views gives the machinist two ways to confirm the same detail.
Get the Units and Scale Right
Unit mix-ups are the most common mistake in the world of digital design, and they are also the most expensive. A part modeled in inches but read in millimeters comes out wildly wrong. Your design software has a setting for this. Check it, then tell the shop in plain words which units you used and confirm the part dimensions match what you expect.
Design at full size, every time. Avoid applying a scale factor in your software and expecting the shop to reverse it later.
Set Tolerances You Can Actually Live With
A tolerance is simply how much a dimension is allowed to vary. Every manufacturing process has some natural variation, and the tolerance is the acceptable range around the number on your design. Tighter tolerances take more setup, more attention, and more inspection, which shows up in the price. Loose tolerances can leave you with a part that will not assemble.
Think about where the fit truly matters. Bolt holes, mating surfaces, and anything that slides into another component usually deserve tighter attention. Cosmetic edges and clearance pockets can stay relaxed. Mark the critical spots clearly and leave the rest alone, and you get a part that works without paying for precision you never needed.
Design for the Tool, Not Just the Screen
A screen has no limits. A cutting tool does. Every cutter has a diameter, so an inside corner can only be as sharp as the tool that reaches into it. If your design calls for a razor-sharp internal corner, the machinist either has to work around it or ask you to adjust the model.
The part also has to be held still while it is cut. That means leaving surfaces the shop can clamp or fixture, and thinking about how the tool will approach each feature. A model that looks elegant on screen can be awkward to hold, and awkward setups cost more time. Asking for a quick design review early is far cheaper than revising a part after the first run.
A Quick Checklist Before You Send Anything
- Model the final part at full size, with every feature present.
- Confirm your units and match the dimensions to your own measurements.
- Delete stray bodies, duplicate geometry, and unused sketches.
- Mark the dimensions where fit matters and leave the rest relaxed.
- Note the material and finish you have in mind, even as a first guess.
- Ask which file format the shop prefers, then export that one.
- Include a drawing or screenshot of the main views.
- Mention quantity, timeline, and anything unusual about the project.
The Risks and Missed Opportunities of Skipping Preparation
Sending a rough file is not a disaster, but it does cost something, and usually more than people expect. Framed honestly, here is what tends to happen when file prep gets skipped.
- Quotes take longer because the shop has to ask questions before it can price the work.
- Small assumptions get made quietly, and the finished part may not match the picture in your head.
- Rework eats time and budget, especially on a run of identical parts.
- Deadlines slip while files go back and forth for correction.
- You miss the chance to simplify a design that could be cut faster and for less money.
- Material choices get locked in before anyone has a chance to suggest a better fit for the job.
Each of those is avoidable. A short conversation and one careful export handle all six.
Free Resources Worth Bookmarking
You do not need to build every model from scratch. The GrabCAD Library offers millions of free CAD designs, CAD files, and 3D models shared by a large engineering community. The TraceParts CAD library offers millions of 3D drawings and CAD models, downloadable directly into your design software. Accuride publishes free 3D CAD downloads for each of its models as a reference resource for designers and builders.
If you need software, FreeCAD is an open-source parametric 3D modeler made primarily to design real-life objects of any size, and parametric modeling lets you adjust your design by changing values rather than redrawing. Check the terms attached to any downloaded model before using it in commercial work, since third-party content carries its own rules.
Frequently Asked Questions
What are CAD files in simple terms?
A CAD file, or computer-aided design file, is a digital document that holds the data used to build a 3D model. Think of it as a set of instructions describing a shape, including its dimensions and features. When a machine shop receives one, it becomes the reference for programming and cutting the part.
Which file format should I send to a machine shop?
Ask first. Formats differ in what they preserve, and some flatten your design into a plain shape while others keep full detail. A quick question about the shop’s preferred format prevents a re-export later. Sending a drawing or screenshots alongside the model is a helpful backup for key views.
Do I need to model every small detail?
Model what matters to the finished part, including any feature the machinist has to cut. Tiny cosmetic details may not need a full model, but say so in your notes rather than leaving them out silently. If you are unsure whether a detail matters, mention it and let the shop weigh in before cutting begins.
How tight should my tolerances be?
Only as tight as the part truly needs. Tight tolerances cost more because they demand extra setup and inspection, so reserve them for the places where fit matters, like mating surfaces and holes that take hardware. Everything else can stay relaxed, which keeps the work faster and friendlier to your budget.
Work With a Shop That Reads Your CAD Files Carefully
Even careful designers appreciate a second set of eyes. Components By Design, Inc. is a Charlotte, NC-based CNC routing and machining job shop, and file review is part of the service. The team handles precision CNC machining across panel materials, solid wood, acrylic, plastic, aluminum, composite panels, and 3D machining, along with rapid prototyping and full production runs for clients who would rather not invest in their own equipment. Secondary fabrication like edgebanding and wide-belt sanding is available too, and the shop is glad to advise on materials before the first cut.
If you can think it, they can make it. Send over your CAD files or call Components By Design to talk through your next prototype or production run, and let the shop turn your design into a finished part.